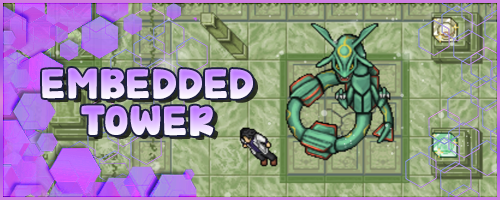
Embedded Tower - First to Fourth Floor
![]()
![]()
| Shortcuts | ||||
|---|---|---|---|---|
| Embedded Tower | Fifth Floor | Sixth Floor | Jirachi's Chamber | Seventh Floor |
Introduction
After completing the quest, the player will have unlocked Tower 1 and will be able to unlock the following floors, as shown in the table below:
| Item | Required points |
|---|---|
First Floor |
Unlocked |
Second Floor |
50 Tower Points |
Third Floor |
75 Tower Points |
Fourth Floor |
150 Tower Points |
| See more: How to unlock the floors |
Required level: 150 or higher.
Mode: Individual.
Time: 1 hour.
Reward: Experience and Tower Points are variable; you can check them by clicking here.
Tower Attempts required: The player must have at least 2 Tower Attempts to enter the floor. If successful, 2 Tower Attempts will be consumed. If unsuccessful, only 1 Tower Attempt will be consumed.
Important Info:
1. The first four floors have the same layout. On each floor, the Pokémon's levels will increase, and from the third floor onwards, there will be different Pokémon that are stronger than those on the previous two floors.
2. There are three objectives on this floor:
Defeat the 78 enemies present on the floor.
Find the hidden Fragments (optional).
Finally, defeat the Bosses on each floor.
3. You can use 12 Revives and 80 Potions/Elixirs while on the floor.
4. The following Held Items have no effect: X-Return, Y-Cure, and Y-Regeneration.
5. The tower traps cause a fixed percentage of damage, meaning that it doesn't matter what level you are or if you have items that increase your character's health, as traps will treat all players equally.
6. In the boss battle, it is not possible to use potions or revives.
- Note: Bosses are of the neutral element on these floors.
Fragments
You can find hidden fragments on the floor, so pay close attention to the corners of the map. Some fragments are well hidden, such as:
- Note: You can find a maximum of one fragment per entry in the Tower.
- If the player was defeated on their last entry, it will not be possible to find a fragment until they complete an attempt.

|
Once you have found all 4 fragments of the floor, return to the NPC Syncamore and give him the fragments to form the collected floor tablet.
The player can only deliver the Tower fragments in order. Example: To deliver the fragments from level 2, the player must first deliver those from level 1.
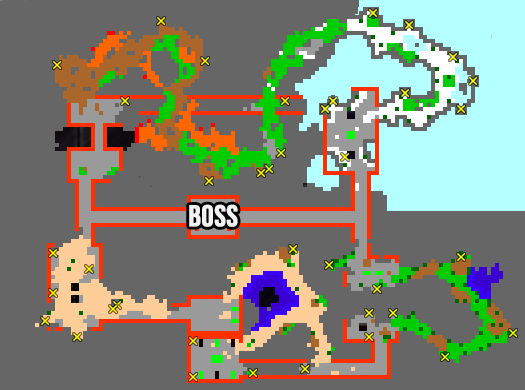
Here is the map of the first four floors. Marked with a yellow X, these are the locations where you can find a fragment:
|
Below is a table with various information about Embedded Tower's bosses and tablets:
| Floor | Boss | Item | Fragment | Experience Gained | Points | Tablet |
|---|---|---|---|---|---|---|
| 1st Shiny Salamence | 1,000,000 XP | 1,000 Tower Points | ||||
| 2nd Shiny Magmortar | 2,000,000 XP | 1,200 Tower Points | ||||
| 3rd Shiny Electivire | 3,000,000 de XP | 1,400 Tower Points | ||||
| 4th Shiny Scizor | 4,000,000 de XP | 2,000 Tower Points |
- Note: You can sell the dropped items to NPC Hugh for $50,000 each, but remember that they will be needed for Jirachi's Chamber.
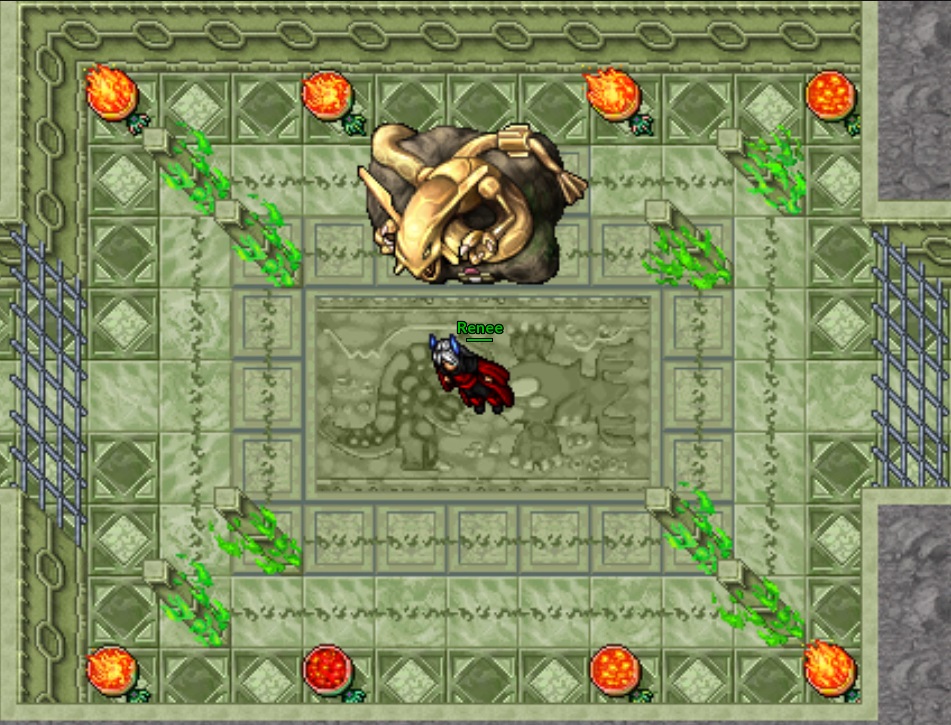
Boss Fight
During the battle against the Boss, players can choose from a variety of strategies, such as Smeargle for Tower or even Pokémon with fast CDs from their own clan that have a miss cycle. Remember to use the pillars in the room and the Rayquaza statue as a safe place to switch Pokémon. It is up to the player to decide the best way to battle.
|
Traps
There are traps on every floor, including:
| Traps: | Damage Inflicted: |
|---|---|
| Whirlpools Wait for them to hit and run a little before disappearing to avoid damage. 
|
20% of maximum health per hit, up to 2 hits |
| Geysers They will alternate the damage, always hitting once in the center and once at the edges. 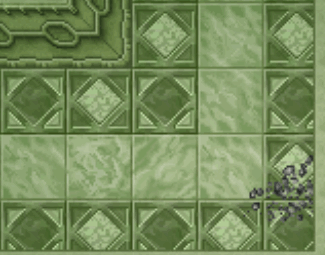
|
30% of maximum health per hit |
| Ice Explosions Along the way, there will be small areas with grass, which are for your safety and where you must defeat the Pokémon. Damage only appears after the central light turns on. 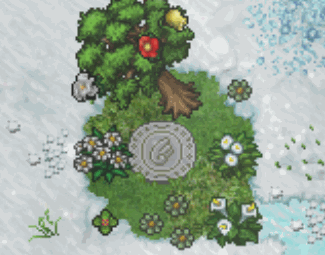
|
50% of maximum health per hit |
| Waves of Fire They only hit 1 SQM, so dodge them and, if necessary, wait for them to pass before moving on. 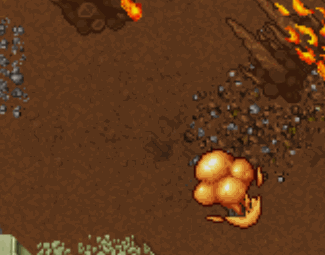
|
60% of maximum health per hit |
| Killer Rocks Wait for it to hit and pass, watch out for all the rocks. 
|
100% of maximum health per hit |
| Fire Explosions The player can avoid this trap by going around the map, or wait for it to hit and pass, but it will be dangerous. 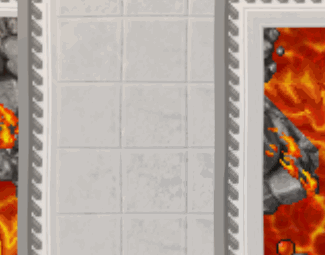
|
100% of maximum health per hit |
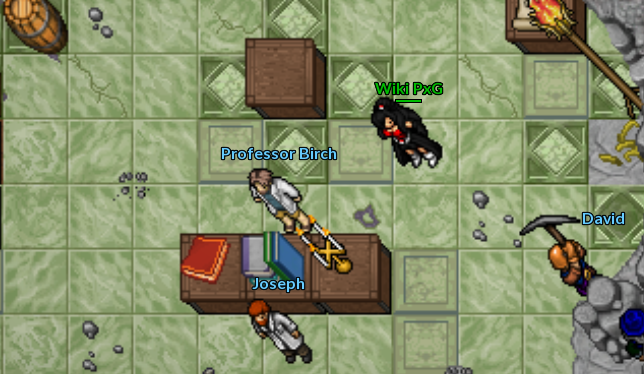
- After delivering all the fragments and obtaining the four tablets, Sycamore will ask the player to speak with Professor Birch, who is on the lower floor of the Tower.
|