Predefinição:Teste14: mudanças entre as edições
Ir para navegação
Ir para pesquisar
Sem resumo de edição Etiqueta: Revertido |
|||
| Linha 1: | Linha 1: | ||
Renee | Renee | ||
===== PAGINA DE MONUMENTOS ===== | |||
{|class="wikitable" style= "text-align:center" width= "71%" | |||
!colspan="2"| Nome | |||
{| class="wikitable" | |||
! | |||
| | |||
|- | |- | ||
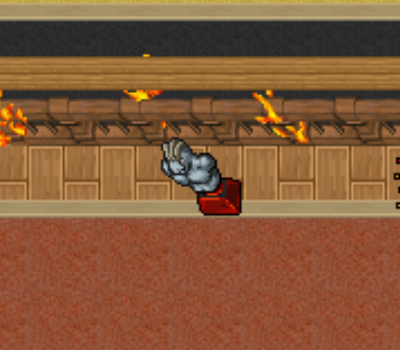
| '''Darkrai''' <br> [[file:Monumento_darkrai1.png|link=]] | |||
| '''Fossil''' <br> <tabber> | |||
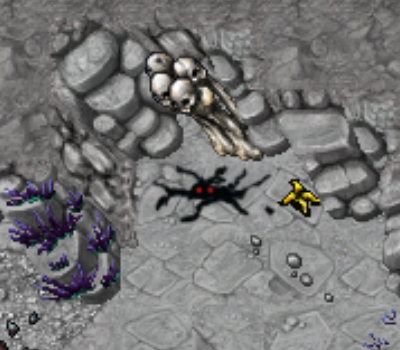
|-|Tipo 1= [[file:Monumento_osso1.png|link=]] | |||
|-|Tipo 2= [[file:Monumento_fossil2.png|link=]] | |||
|-|Tipo 3= [[file:Monumento_fossil3.png|link=]] | |||
</tabber> | |||
|- | |- | ||
| '''Coffin''' <br> <tabber> | |||
| | |-|Tipo 1= [[file:Monumento_coffin1.png|link=]] | ||
| | |-|Tipo 2= [[file:Monumento_coffin2.png|link=]] | ||
| | </tabber> | ||
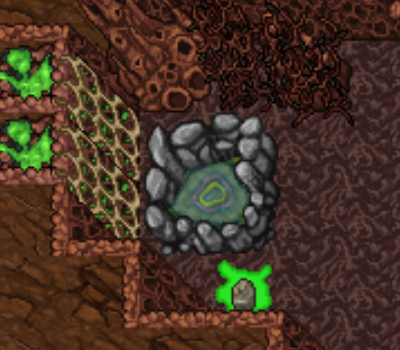
| | | '''Earth''' <br> <tabber> | ||
| | |-|Tipo 1= [[file:Monumento_earth1.png|link=]] | ||
|-|Tipo 2= [[file:Monumento_earth2.png|link=]] | |||
</tabber> | |||
|- | |- | ||
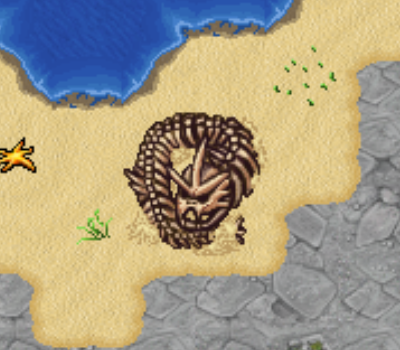
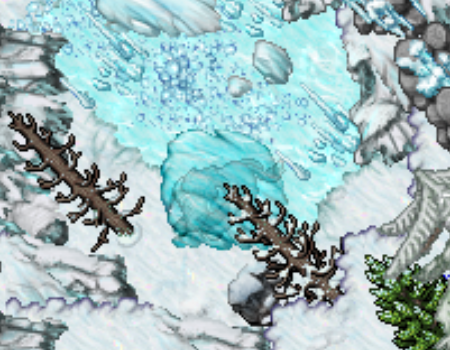
| '''Ice''' <br> <tabber> | |||
|-|Tipo 1= [[file:Monumento_iceblock1.png|link=]] | |||
| | |-|Tipo 2= [[file:Monumento_iceblock2.png|link=]] | ||
|-|Tipo 3= [[file:Monumento_iceblock3.png|link=]] | |||
| | </tabber> | ||
| | | '''Totem''' <br> | ||
[[file:Monumento_totem1.png|link=]] | |||
|- | |||
| | |||
|- | |- | ||
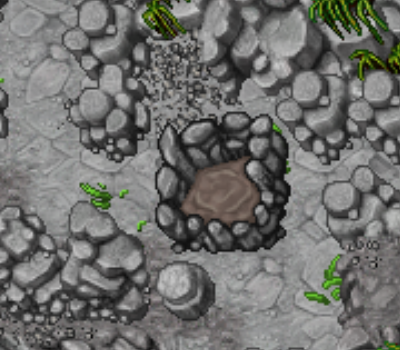
| '''Gear''' <br> | |||
[[file:Monumento_gear1.png|link=]] | |||
| '''Hypno''' <br> | |||
[[file:Monumento_hypno1.png|link=]] | |||
|- | |- | ||
| '''Charizard''' <br> | |||
[[file:Monumento_charizard1.png|link=]] | |||
| '''Gong''' <br> | |||
[[file:Monumento_gong1.png|link=]] | |||
|- | |- | ||
| '''Fountain''' <br> <tabber> | |||
|-|Tipo 1= [[file:Monumento_fountain1.png|link=]] | |||
|-|Tipo 2= [[file:Monumento_fountain2.png|link=]] | |||
|-|Tipo 3= [[file:Monumento_fountain3.png|link=]] | |||
</tabber> | |||
| '''Sphinx''' <br> | |||
[[file:Monumento_sphinx1.png|link=]] | |||
|- | |||
| | |||
|- | |||
| | |||
|- | |||
| | |||
| | |||
[[ | |||
|- | |- | ||
| '''Machoke''' <br> | |||
[[file:Monumento_machoke1.png|link=]] | |||
| '''Elekid''' <br> <tabber> | |||
|-|Tipo 1= [[file:Monumento_elekid1.png|link=]] | |||
</tabber> | |||
< | |||
|- | |- | ||
| | | '''Pinsir''' <br> <tabber> | ||
|-|Tipo 1= [[file:Monumento_pinsir1.png|link=]] | |||
</tabber> | |||
| '''Glalie''' <br> <tabber> | |||
|-|Tipo 1= [[file:Monumento_glalie1.png|link=]] | |||
</tabber> | |||
|- | |- | ||
| | | '''Strange Eyes''' <br> | ||
[[file:Monumento_strangeeyes2.png|link=]] | |||
|- | |- | ||
|} | |} | ||
=testene= | |||
Edição das 19h47min de 21 de maio de 2024
Renee
PAGINA DE MONUMENTOS
| Nome | |
|---|---|
Darkrai 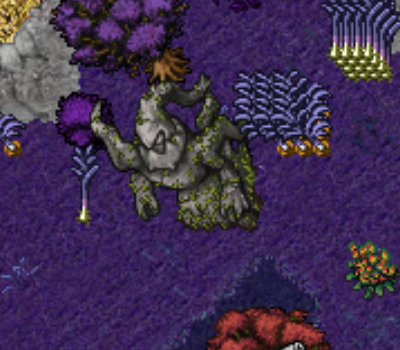
|
Fossil
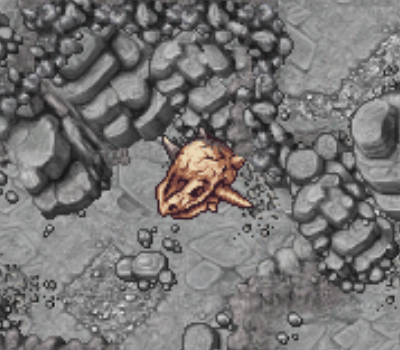
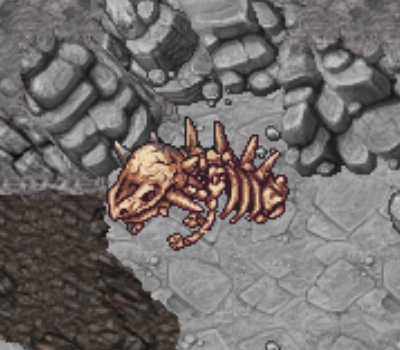
|
Coffin 
|
Earth 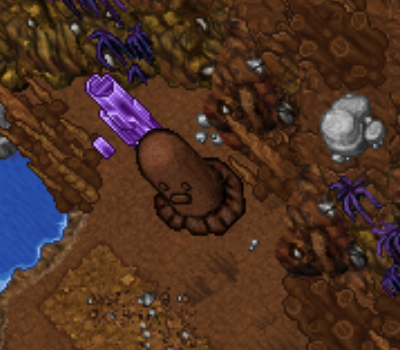
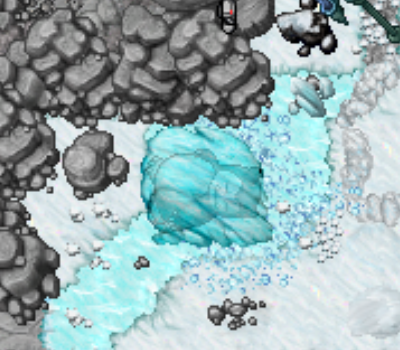
|
Ice 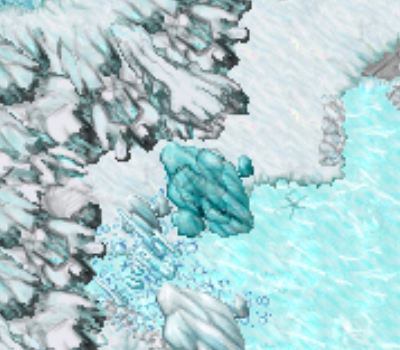
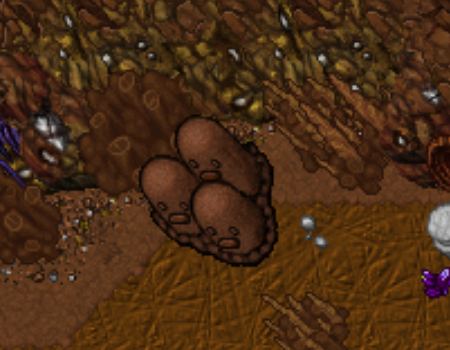
|
Totem
|
| Gear
|
Hypno
|
| Charizard
|
Gong
|
Fountain 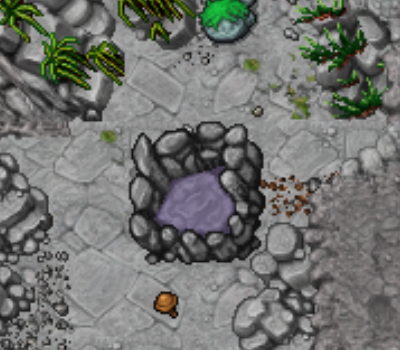
|
Sphinx |
| Machoke
|
Elekid 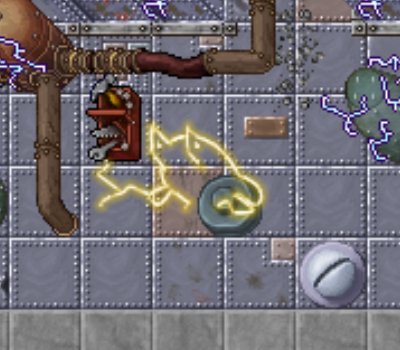
|
Pinsir 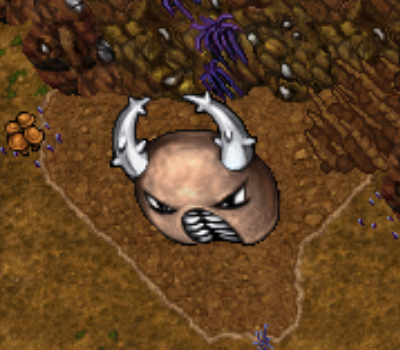
|
Glalie 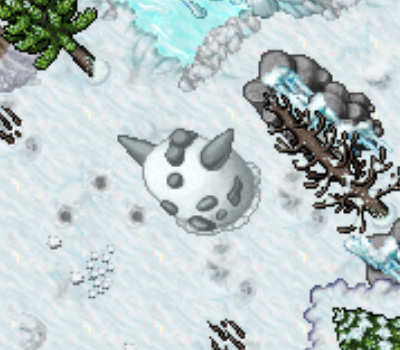
|
| Strange Eyes
| |